WordPress Plugins

How to add live chat widget


1. Log into your WordPress dashboard and click Plugins.
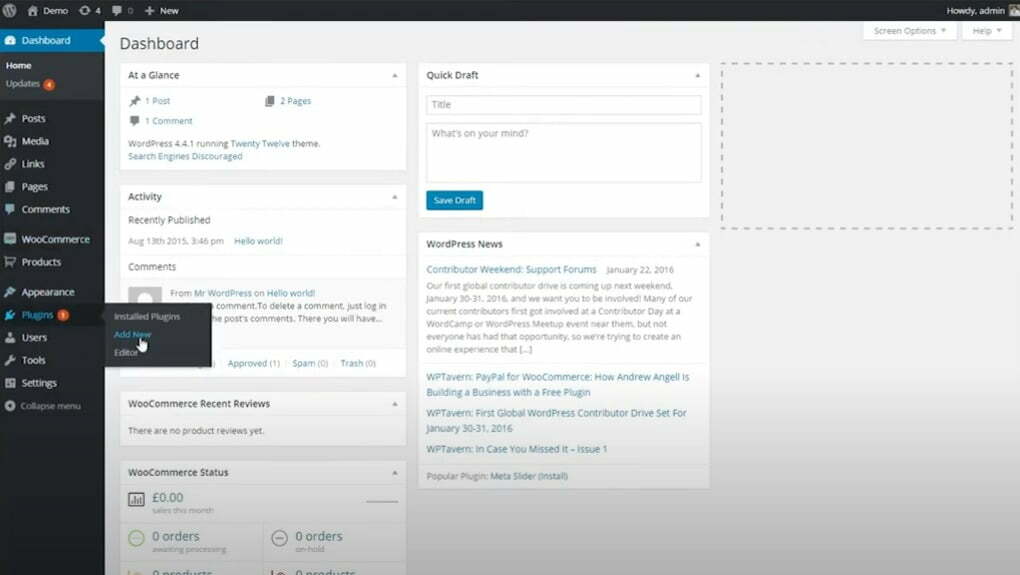
Screenshot of clicking plugins

2. Search for Zopim Live Chat and install it by clicking Install Now.
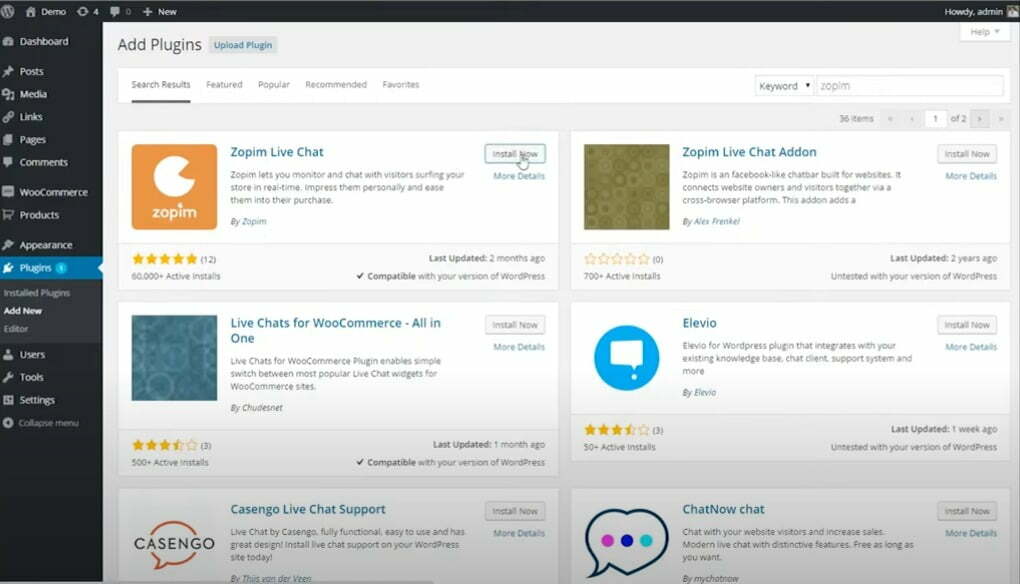
Screenshot of clicking Install Now

3. Once it’s installed, click Activate Plugin.
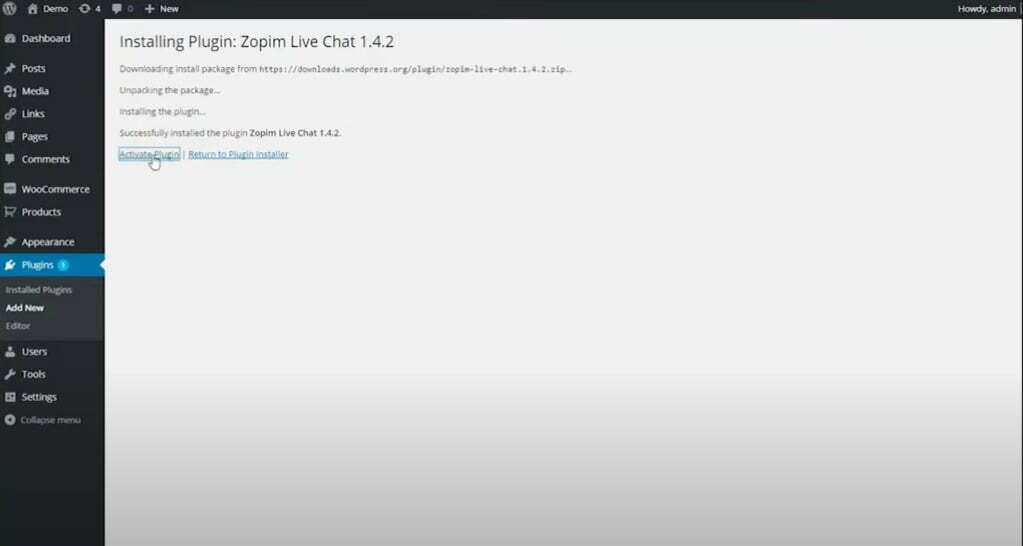
Screenshot of clicking Activate Plugin

4. Now that we’ve installed the Plugin, go to Zopim Chat. Enter your username and password. If you don’t already have an account, click Sign up now. It will direct you to the website where you can register.
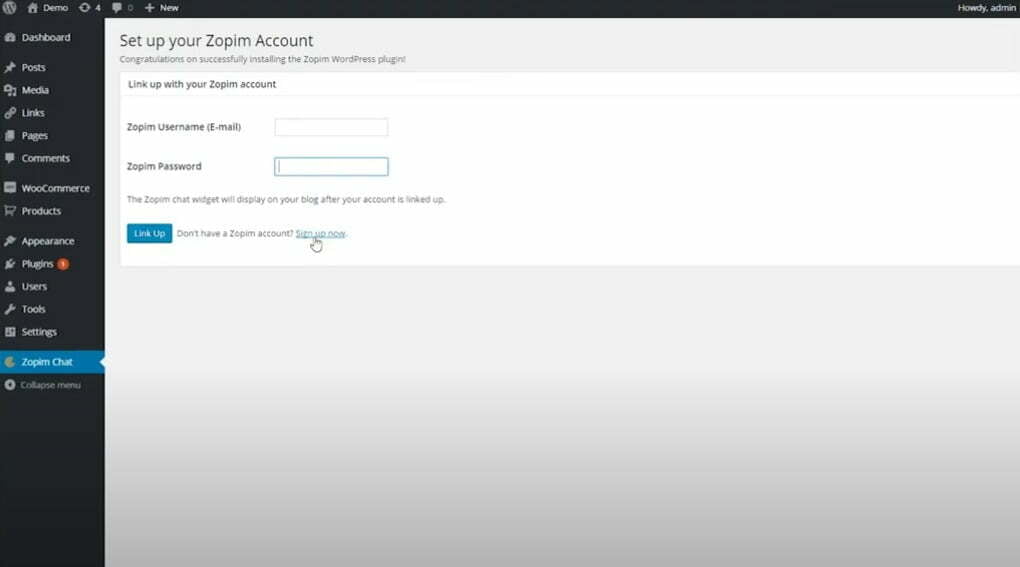
Screenshot of clicking Sign up now

5. After signing up, go back to the plugin’s settings and enter your Username and Password.

6. Click Link Up. You now have a live chat on your website.
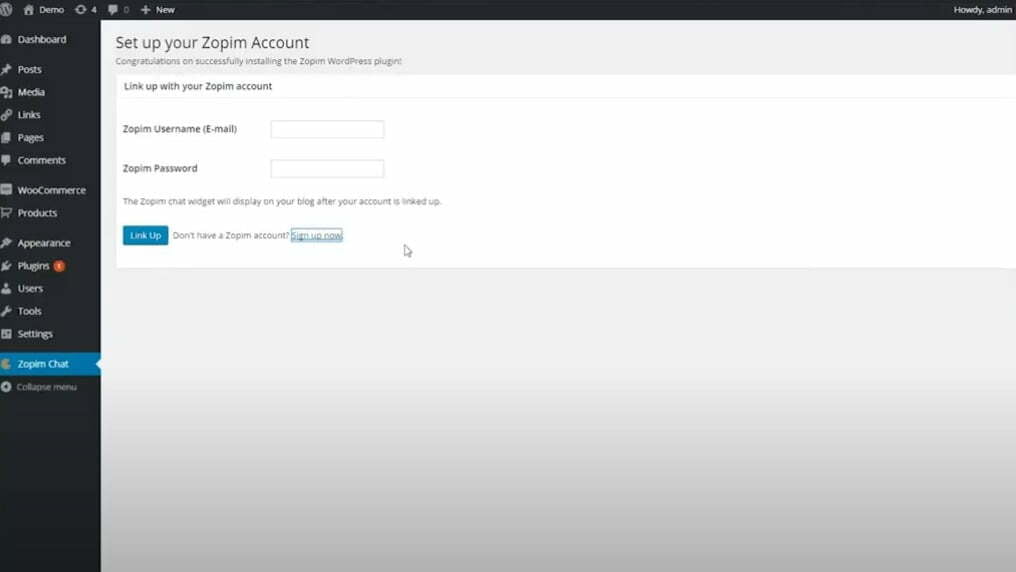
Screenshot of clicking Link Up

WordPress support you can count on

Our WordPress support team has worked on many websites and understand how to make them successful. For more than 13 years, we have helped companies like yours, so we know how essential it is to have a WordPress support plan tailored to your requirements.

Our team is here to support you in any way we can, whether providing training or just ensuring your site is up to date. We offer ongoing support after your website is launched, so you can get back to doing what you do best.

If you’re not sure what kind of support you need or how best to implement it, give us a call today. We’d be happy to help you grow your website.