1. To add categories to your WordPress site, go to Posts, then select Categories.

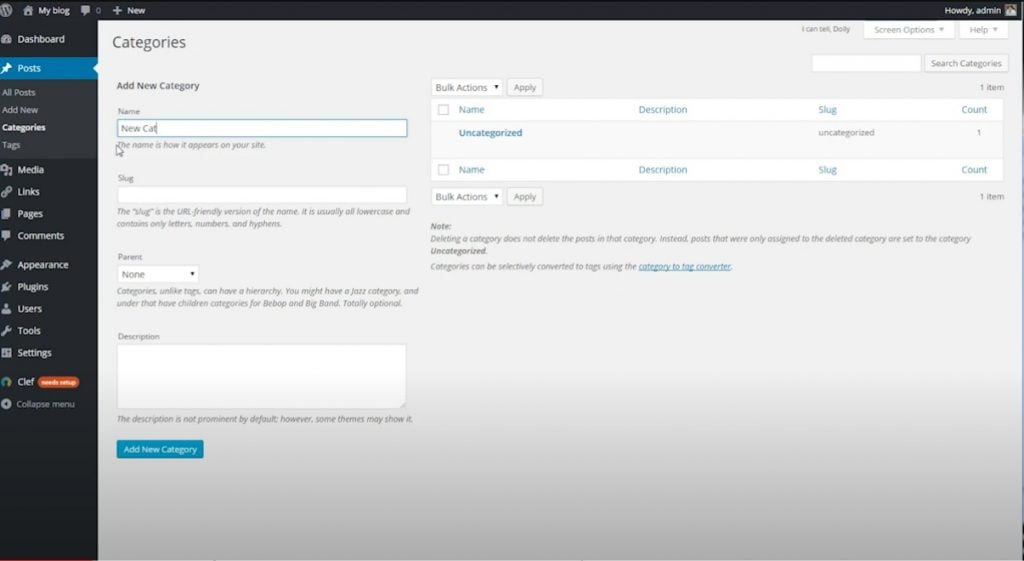
2. You can add a category from here by entering its Name and leaving the Slug field blank. The Slug is the URL that will be used to access the category page. Once you save the category, it will be automatically created and added to the sidebar.
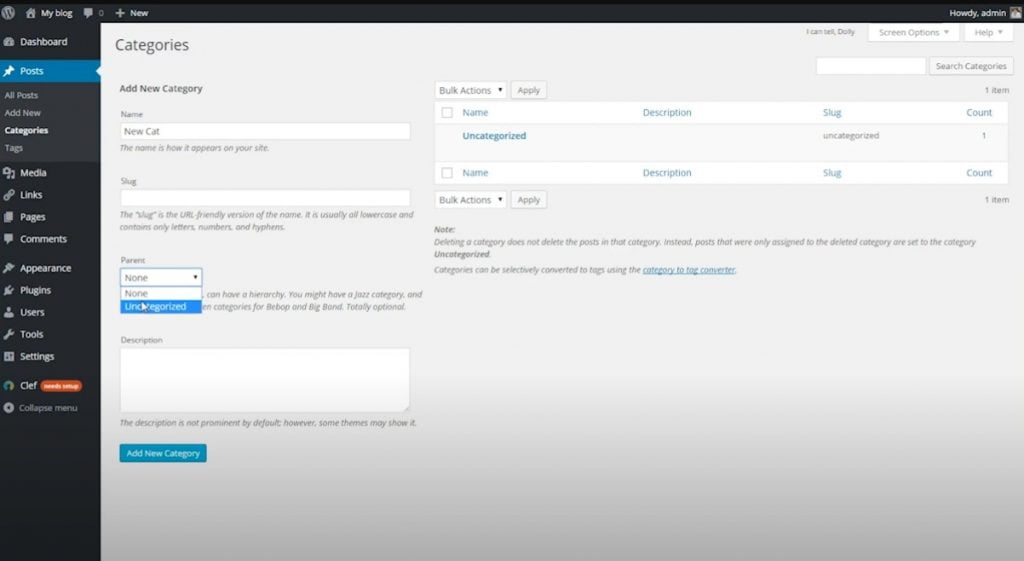
3. You can then select a Parent page for your new category by choosing None or Uncategorized. You can also add a Description for your new category if you’d like.
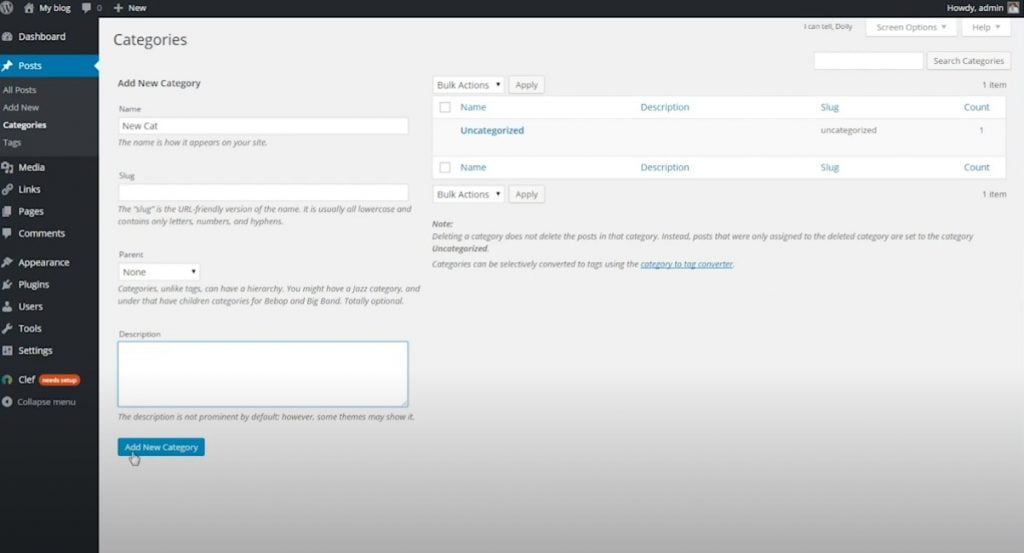
4. Once you’ve added the details, click Add New Category. The right-hand side of the screen will now include your new category.
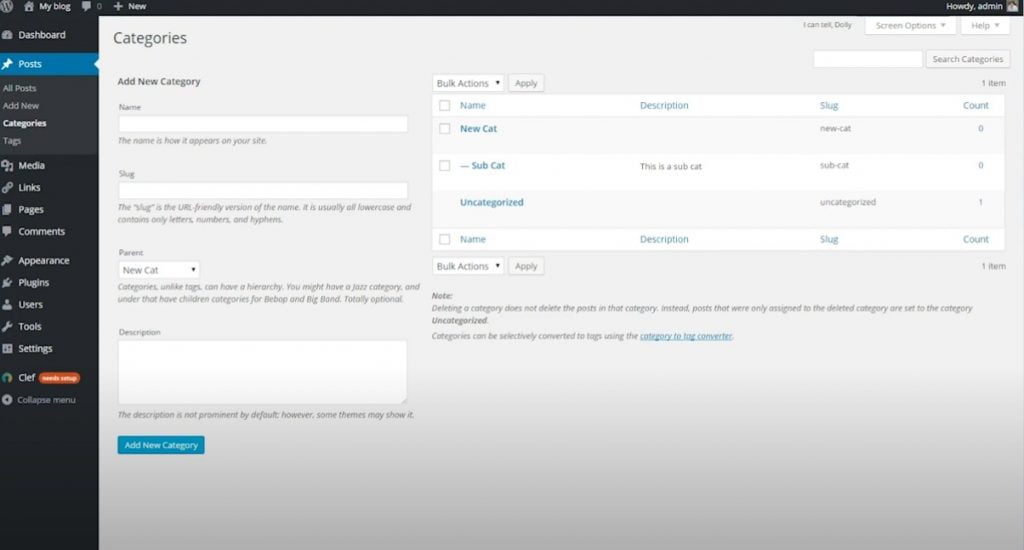
5. Now, we can create a Child or subcategory. Add the Name, and then choose the Parent, which is the newly created category.
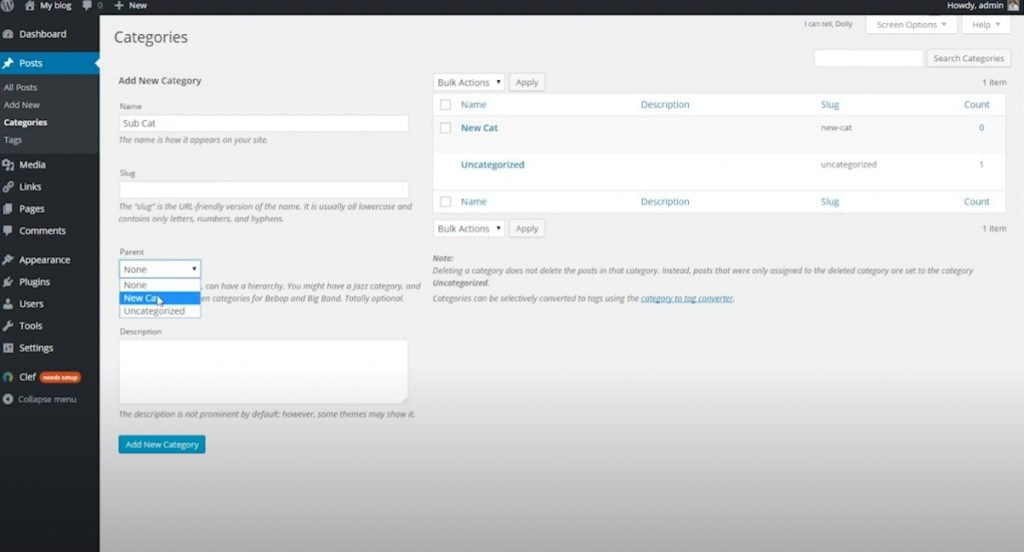
6. Click Add New Category after including a description for the new subcategory. Each child category will have a dash next to it, indicating that it is under its parent category.