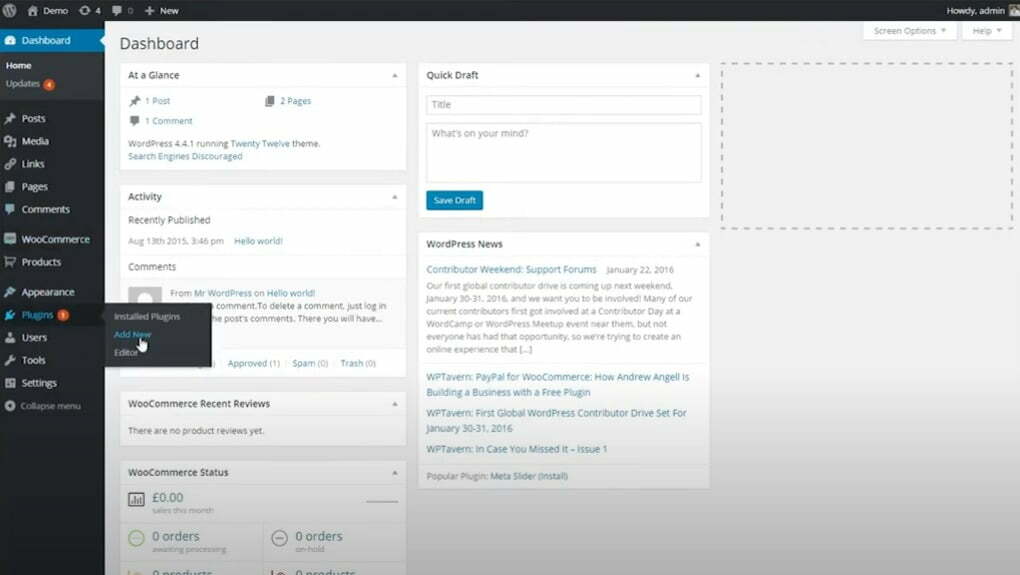
1. Log into your WordPress dashboard and click Plugins.
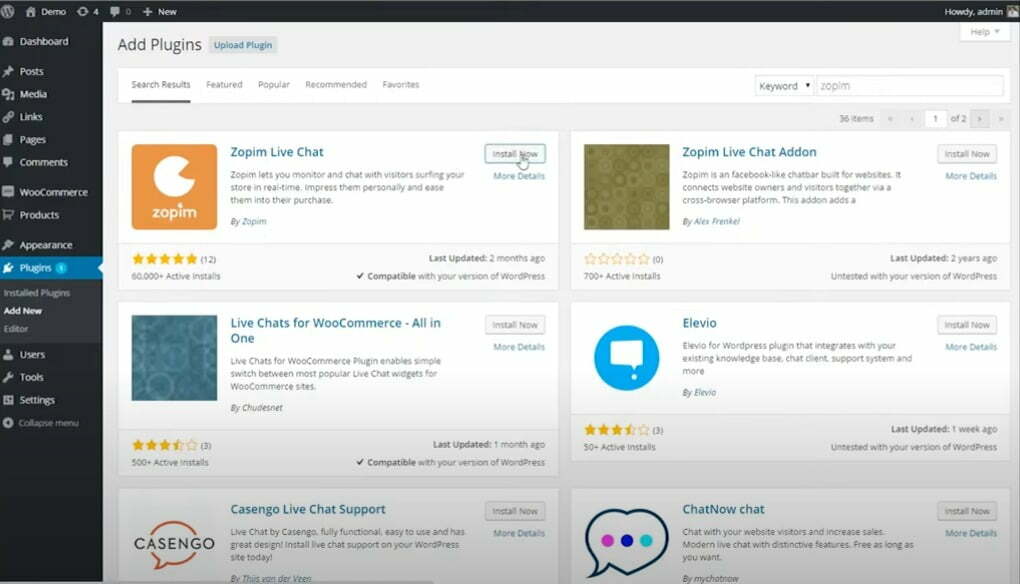
2. Search for Zopim Live Chat and install it by clicking Install Now.
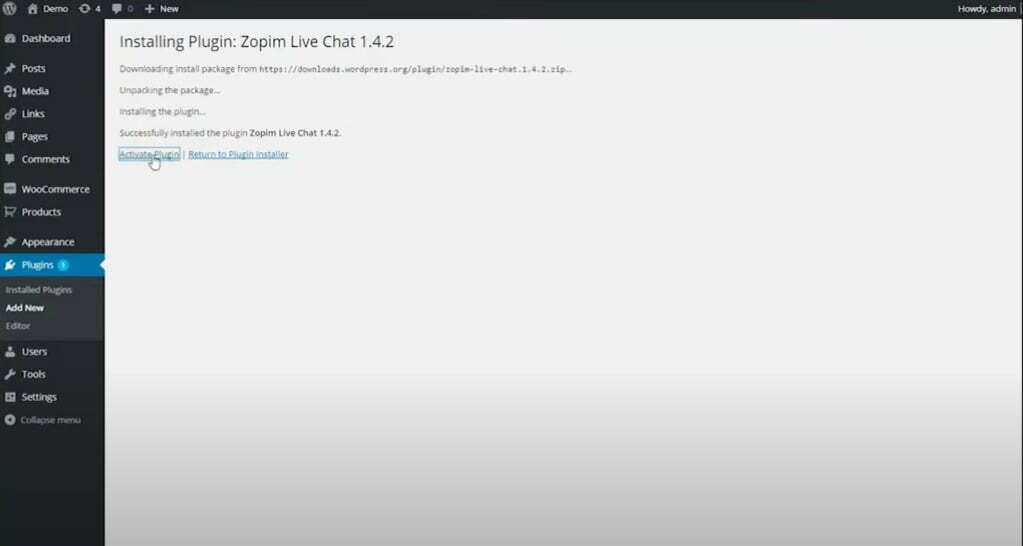
3. Once it’s installed, click Activate Plugin.
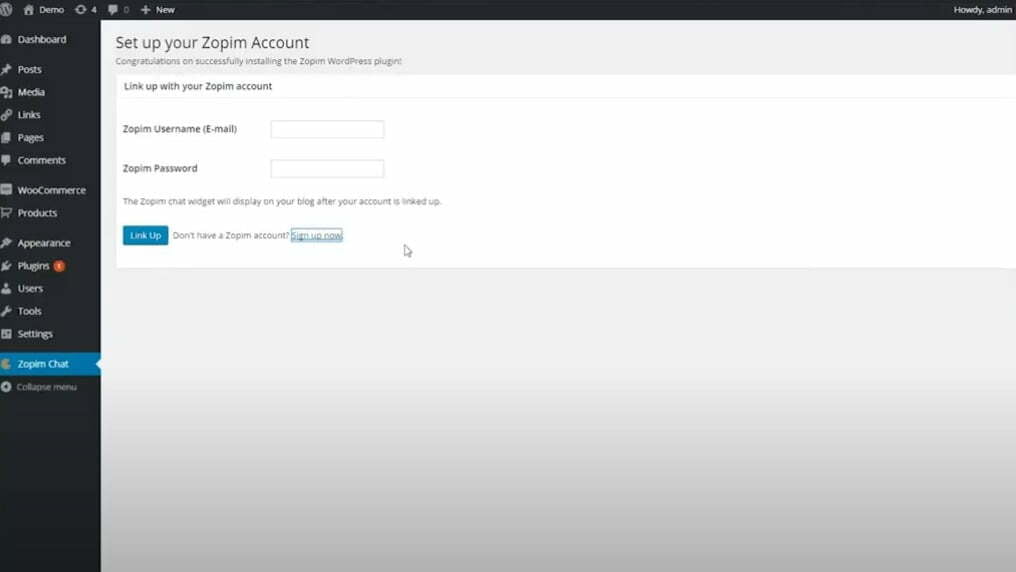
4. Now that we’ve installed the Plugin, go to Zopim Chat. Enter your username and password. If you don’t already have an account, click Sign up now. It will direct you to the website where you can register.

5. After signing up, go back to the plugin’s settings and enter your Username and Password.
6. Click Link Up. You now have a live chat on your website.